Nội dung
ToggleBreaks Aren’t Accidents — They Follow Structural Tension Lines Every Technician Must Learn to Read
Every technician has seen this:
a client whose nail always cracks in the same spot
corner breaks that repeat appointment after appointment
diagonal fractures that look random but aren’t
gel lifting on the same finger every time
center splits that travel straight upward from the free edge
clients who swear “nothing happened,” yet the crack is identical to last time
This is not coincidence.
This is Plate Tension Zones — the invisible stress lines built into every nail plate.
Just like wood grain, metal beams, or glass sheets, the nail has fault lines that direct pressure and determine where structural failure occurs.
When you learn to diagnose these tension zones, you can:
prevent cracks
reduce lifting
understand recurring breakage
reinforce correctly
choose safer shapes
customize structure based on each nail
improve retention
build stronger, longer-lasting work
This guide is the OBB professional breakdown of tension zones and how to work with them.
1. What Are Plate Tension Zones? (Technician Definition)
Plate Tension Zones are directional stress pathways inside the nail plate.
They form based on:
keratin fiber alignment
matrix shape
C-curve
sidewall structure
daily pressure habits
natural density variation
These zones determine:
how the nail bends
where stress accumulates
where cracks initiate
how breaks travel
how product behaves on the plate
Ignoring tension zones is one of the main reasons cracks or lifting repeat.
2. The Three Professional Tension Zone Categories
Every nail has one or more of these:
A. Longitudinal Tension Zones (Vertical Stress Channels)
Direction: Cuticle → Free edge
Cause: Matrix fiber direction & bending stress
Resulting breakage:
vertical cracks
center splits
straight fractures
peeling down the nail center
These cracks follow the nail’s keratin grain.
B. Lateral Tension Zones (Side-to-Side Stress)
Direction: Sidewall ↔ Sidewall
Cause: Sidewall weakness or uneven thickness
Resulting breakage:
corner cracks
diagonal corner splits
sidewall peeling
tip cracking on one side
Lateral stress is behind 80% of square-shape corner breaks.
C. Diagonal Tension Zones (Oblique Stress Lines)
Direction: Angle across the plate
Cause:
twisting plate
asymmetrical sidewalls
uneven curvature
daily movement pressure
Resulting breakage:
angled cracks
curved breaks
cracks traveling sideways then upward
Diagonal tension is the most misdiagnosed type and the hardest for techs to detect — but also the easiest to fix once you know the cause.
3. Why Tension Zones Form (Technical Breakdown)
1. Keratin Alignment
Nail plate fibers grow in parallel strands.
Cracks follow the grain.
2. Matrix Structure
Uneven matrix = diagonal or lateral tension.
3. C-Curve Physics
Flat nails → center tension
Tight curves → corner tension
Downward curves → tip tension
4. Sidewall Thickness
Thin sidewalls are automatic break points.
5. Density Variation
Dry keratin → brittle breaks
Soft keratin → peeling
Uneven density → diagonal crack mapping
6. Habit Pressure
Typing → vertical tension
Phone grip → diagonal tension
Manual labor → lateral tension
7. Past Trauma
Old injury = permanent fault line in keratin structure.
4. Technician Diagnostics: How to Identify Tension Zones
Use this professional method.
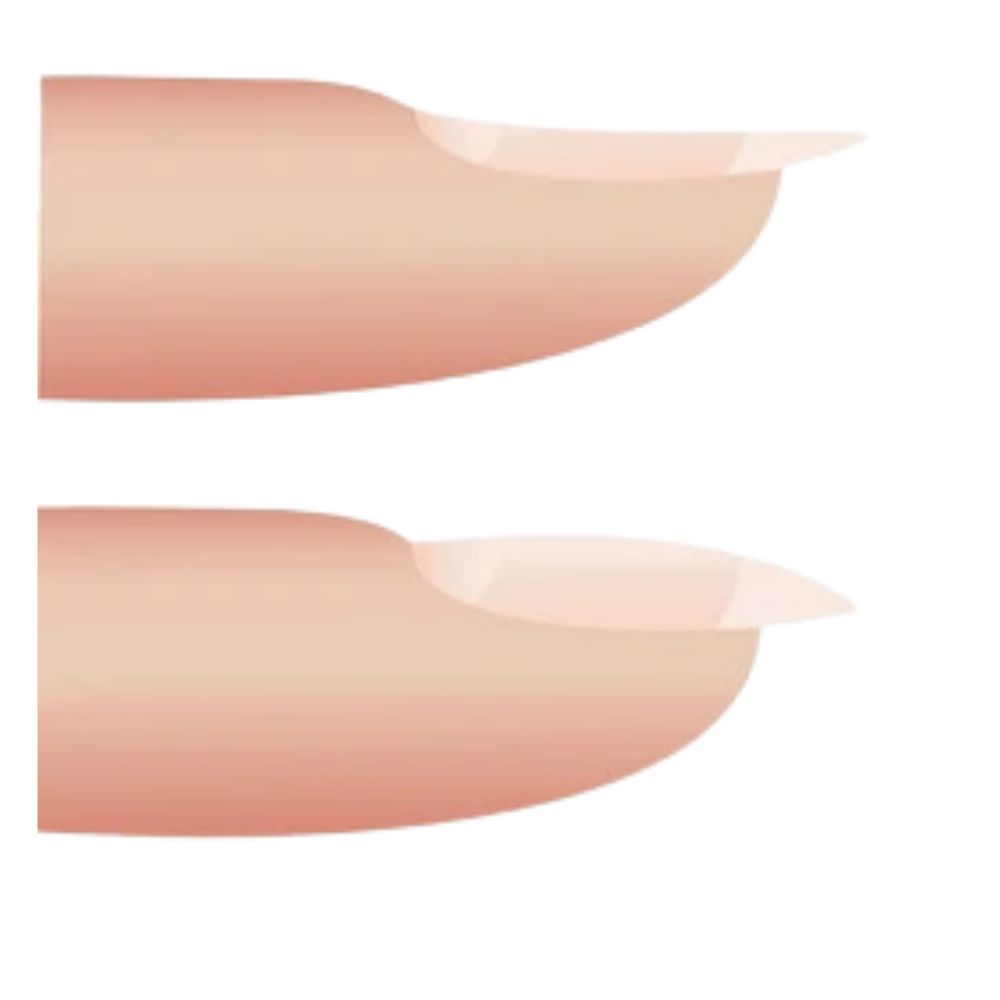
Step 1: Free-Edge View
Observe curvature → predicts stress behavior.
Step 2: Sidewall Check
Look for asymmetry or thinning.
Step 3: Break Pattern History
Ask the client:
Which nail breaks the most?
Where does the crack usually start?
Does the break run straight or diagonal?
Breaks always follow tension lines.
Step 4: Flex Test
Gently bend free edge:
bends in center → vertical tension
bends unevenly → diagonal tension
corners flex first → lateral tension
Step 5: Surface Memory Lines
Look for faint white lines or micro-cracks — these show active tension zones.
Step 6: Dominant Hand Analysis
Dominant hand = more diagonal stress due to twisting/gripping.
5. Breakage Patterns by Tension Type
Tie the pattern to the zone:
A. Vertical Tension → Vertical Crack or Center Split
Common on:
flat nails
dehydrated nails
nails with weak keratin density
OBB Correction:
reinforce center with Foundation Base
shape round or soft squoval
keep length short-medium
B. Lateral Tension → Corner Break, Side Chip, or Lateral Peel
Common on:
square shapes
thin sidewalls
tight C-curves
OBB Correction:
reinforce corners
minimize sidewall filing
use rounder shapes
avoid long square or coffin
C. Diagonal Tension → Diagonal Angled Crack
Common on:
asymmetrical growth
matrix injuries
twisting nails
heavy phone usage
OBB Correction:
reinforce weaker side
balance plate thickness
shorten to reduce torque
use round/oval shapes
6. How Product Behavior Changes With Tension Zones
Products interact differently depending on tension type.
Vertical Tension
Hard products crack; flexible products bend with the nail.
Use: OBB Foundation Base (flexible reinforcement)
Avoid: overly rigid products on soft/flat plates.
Lateral Tension
Product lifts on corners if sidewalls are thin.
Use:
thin application
reinforced corners
soft squoval shapes
Diagonal Tension
Pooling or uneven application increases diagonal cracking.
Use:
balanced left-right product distribution
avoid coffin/tapered shapes
7. Technician Correction Protocol (OBB Tension-Zone System)
This is the structured solution for each tension type.
Step 1: Reduce Length
Short-medium only.
Length multiplies tension.
Step 2: Choose Safe Shape
|
Tension Type |
Safe Shapes |
Avoid |
|---|---|---|
|
Vertical |
Round, Squoval |
Long Square, Almond |
|
Lateral |
Round, Soft Squoval |
Square, Coffin |
|
Diagonal |
Round, Oval |
Coffin, Tapered |
Step 3: Reinforce Properly With OBB Foundation Base
Apply by tension zone:
Vertical
Reinforce center; build slight arch.
Lateral
Support corners; avoid thinning sidewalls.
Diagonal
Reinforce weaker side; balance plate thickness.
Step 4: File Smart
avoid deep corner filing
taper minimally
maintain structural pillars
preserve C-curve
Step 5: Seal With OBB Top Coat
Use:
Crystal Shine for stronger sealing
Velvet Matte for flexible protection
Seal free edge and corners thoroughly.
Step 6: Educate Clients
Explain:
Vertical cracks → pressure from bending
Side cracks → corners too sharp or thin
Diagonal cracks → daily twisting habits
Center peeling → density/moisture imbalance
When clients understand the why, retention improves.
8. Technician Mistakes That Make Tension Worse
Avoid these:
❌ Thinning sidewalls
Creates lateral tension.
❌ Over-buffing the center
Weakens vertical grain.
❌ Building long shapes on weak plates
Amplifies all tension pathways.
❌ Using rigid builder on flexible nails
Creates micro-cracks.
❌ Ignoring diagonal plate twist
Causes recurring diagonal fractures.
❌ Over-straightening corners
Sharp corners = break magnets.
9. The OBB Tension Zone Toolkit
|
Product |
Purpose |
Technician Benefit |
|---|---|---|
|
Flexible reinforcement |
Reduces stress on all tension lines |
|
|
Controlled shaping |
Prevents thinning of tension points |
|
|
Gentle prep |
Protects plate layers |
|
|
Strong sealing |
Guards free edge & corners |
|
|
Flexible finish |
Ideal for soft or flexible plates |
This system is designed to actively reduce tension and prevent structural failure.
Ending: Breakage Follows Tension — Master the Tension Map, and You Prevent 90% of Cracks
When technicians understand plate tension zones, they can:
diagnose cracks with precision
prevent recurring break patterns
reinforce the right structural areas
improve retention dramatically
choose smart shapes
protect sidewalls and free edges
deliver long-lasting, professional results
At OBB Nails, our philosophy is simple:
Breakage is never random.
It follows the laws of tension.
Master those laws, and you master the nail.


